
DIY Projects
Remodelling a Bathroom in 7 Simple Steps
Seven simple steps for renovating a bathroom from start to finish.
Is your outdated bathroom embarrassing you when welcoming guests into your home? Well, it’s time to transform that bathroom into a stylish, functional space.
Remodelling a bathroom can be a capital-intensive project, but by going the DIY route, you can expect to save as much as a few thousand dollars.
Here are seven simple steps for renovating a bathroom from start to finish:
Editor’s Note: Before delving into the renovation steps, let’s examine some key considerations to address before initiating the project.
Design elements
Before you start remodelling a bathroom, it is important to pick a design that aligns with your vision and suits your DIY skill set.
This project can be tackled in various ways, including repainting, replacing fixtures, or opting for a complete demolition and starting from scratch.
You need to make the following considerations:
New fixtures: Renovation of bathroom may involve replacing a shower or bath tub, or installing a new sink. These replacements will add to your project budget.
Color scheme: Focus on your desired ambiance. Light tones can enhance space, while darker hues add coziness. It is advisable to pick moisture-resistant paints.
Storage spaces: If you wish to remove a closet to enlarge the room, ensure you have cabinets to compensate for the lost storage space in your bathroom.
Location of utilities: Take note of the locations of electrical wiring and plumbing pipes, marking them to prevent damage and costly repairs.
RELATED: 7 Small Bathroom Remodel Ideas for Your Home
Let’s now explore the seven steps to renovating a bathroom.
1. Remove bathroom fixtures
If you’re undertaking a partial or complete bathroom renovation, begin by removing the drywall and fixtures slated for replacement.
While gutting the bathroom can be manageable, it’s essential to follow these steps to prevent costly mistakes during the demolition phase.
Start by turning off the water and removing the toilet to avoid spills. If replacing the bathtub, strip the bath tile down to the studs for plumbing adjustments.
Use a reciprocating saw to remove insulation safely. Wear safety gear.
Remove the vanity, cabinets, mirror, flooring, and anything else to be replaced. Take out and reinstall baseboards after fitting the new tile floor for a seamless finish.
2. Install new shower or bathtub
After gutting your bathroom, install new fixtures. Replace rotted wood or damaged subfloors before the new shower installation.
Choose a pan or basin that complements your decor and fits the space.
Consider the bathroom layout when choosing the base shape. If space permits, think about a combo shower and bathtub for better resale value.
3. Lay the new flooring
After preparing the subfloor, go ahead and install your new flooring.
While tile remains a popular choice for bathrooms, you might explore more budget-friendly and DIY-friendly options like laminate or vinyl.
If you opt for tile, employ a mason’s chalk line to mark reference lines perpendicular (at a 90-degree angle) to the longest continuous wall. This ensures a straight alignment of tiles as you place them across the room.
4. Hang new drywall
At this point, you need to install new drywall.
This process may take some time, especially when cutting the drywall to fit around shower walls, vanities, and other features.
Once you start nailing the boards, the process should proceed efficiently.
Here are crucial tips for this step:
- Utilize drywall mud and tape to cover seams and fill gaps.
- Opt for cement board instead of drywall for the shower/tub wall.
- Waterproof the cement board to shield it from water damage.
After rebuilding your walls, add a burst of color to your bathroom.
Painting is a straightforward and budget-friendly way to rejuvenate the space, providing it with a fresh and updated look.
It is advisable to choose a paint with a semi-gloss finish for effortless maintenance, as it effectively repels mold and mildew.
RELATED: A 10-Point Bathroom Renovations Checklist
5. Install cabinets and vanity
After addressing the walls, focus on installing the remaining major items on your bathroom renovation checklist, including the vanity and cabinets.
Start by installing the vanity, incorporating the sink and faucet. Once the drain is connected to the faucet, proceed to essential elements like the mirror, cabinets, and trim around the shower or tub.
If a new vanity is not within your budget, opt for a cost-effective renovation. Refinish and paint your existing bathroom cabinets, and enhance the look with new hardware for a refreshed appearance at a lower cost.
6. Install new lighting
Arrange electrical fixtures and then install new lighting.
Adjust the wiring and potentially patch around existing wall holes if the dimensions differ from the current fixtures.
This may require relocating power outlets, especially if the new vanity alters the space. It’s advisable to enlist an electrician for this step, particularly if you lack experience with home wiring, to ensure safety and proper installation.
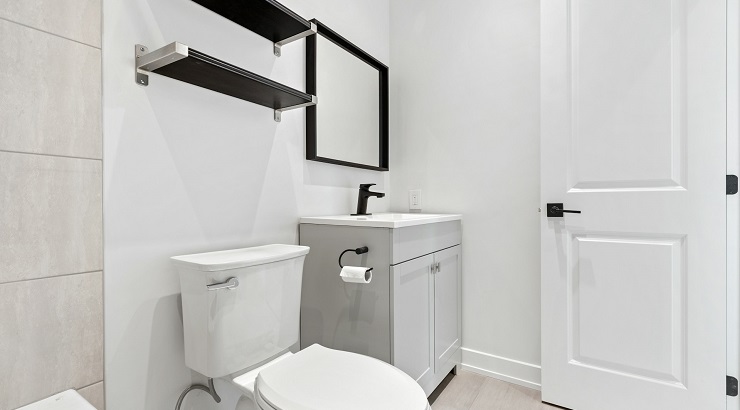
7. Install the toilet
At this point, your bathroom remodelling venture is taking shape, resembling a complete space—except for one crucial element: the toilet.
While reinstalling or installing a new toilet can be done earlier, saving it for the final step helps prevent damage during work on other areas of the room.
Lastly, complete the renovation by installing the trim around the room, providing the essential finishing detail for your space.
Personalize the room further with window treatments, decorative storage containers, and wall pictures.
Later, treat yourself to a relaxing bath or shower and relish in the satisfaction of your hard work in the newly transformed space.


5 Easy Tips to Beautify Your House on a Budget
A quick guide on how to design your bedroom, living room, and every other room in your home.
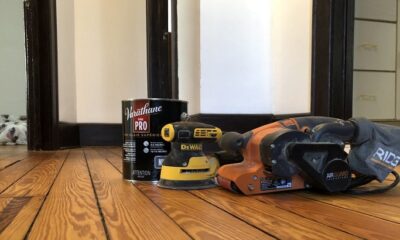

How to Refinish Hardwood Floors Like a Pro
Everything to know about wood floor refinishing.


Painting Ideas for Modern Kitchen
Create a kitchen that feels like new with these easy to follow ideas.