
Self Building
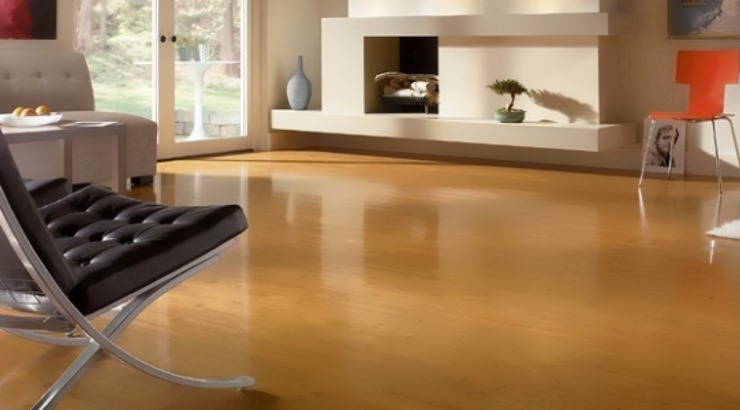
How to install laminate flooring
Lock and click fitting method does not require the services of an expert.
They are a great alternative to the natural materials they simulate since they are easy to install, less expensive and very durable.
They are suitable for any room including high traffic areas and high humidity areas such as laundry rooms and bathrooms since latest innovations have a moisture resistance finish added to them.
Laminate flooring installation has been made a simple task thanks to the lock and click fitting method which does not require the services of an expert.
The following is a step by step guide on how to prepare, install and finish laminate flooring.
1.) Prepare the sub floor
Remove old flooring such as carpets and scrape off any adhesive that could have been used to fix them.
Use a self-levelling compound in case of an uneven concrete floor carefully following the manufacturer’s instructions.
Remove the moulding or skirting boards for ease of fixing the laminates at the edges and later refit them over the new floor.
Clean off the floor using an appropriate method. To determine how much laminates you will need, measure the length and width of your room at the longest points and multiply them to find the area in square metres.
Add 10 per cent of this to cater for wastage. Divide the room area with the pack size indicated on the packet to establish how many packs to buy.
2.) Install underlay and DPM
If your flooring laminates do not have a pre-attached underlay, you will need to install one to help even out the sub floor. A damp-proof membrane (DPM) is also required to prevent any moisture in the sub floor from sipping through to the laminates.
There are different types of underlays depending on the condition of your floor and the level of sound and heat insulation required.
READ: Why laminate flooring has become popular with homeowners
Ensure the underlay should just meet not overlap during installation and all the seams/edges taped down together to lock out moisture.
3.) Lay the laminates
Before you start, acclimatise the laminates by leaving the unopened packs placed horizontally on the floor in the room that they are to be installed for not less than 48 hours.
Start from a corner and lay the laminates lengthwise along the longest wall of the room with the tongue facing the wall.
Create a 10mm to 12mm expansion gap between the planks and the wall using spacers placed at intervals of 15 inches.
Finish the first row by interlocking the planks’ groove and tongue ensuring the row remains straight and parallel to the wall.
Most probably, you will need to cut the last piece for it to fit in. Place it face down next to the previous piece, maintaining the expansion space with the wall and mark a line across it where the previous plank ends. Cut and fix the piece to finish the row.
If the off cut from the first row is more than 300mm long, you can use it to start the next row. If not, cut a plank in half and use one half to start the row. This is to ensure that the joints are staggered in relation to the first row for a firmer fix.
Continue to lay the laminates one row at a time until you get to the last row where more often than not you will have to cut planks to obtain the proper fit. Measure how much you need and cut one plank at a time.
4.) Adjust door frames
Using a plank as a guide, mark and cut underneath the door frame using a hand saw. If it is impossible to lift the plank so that you can interlock the tongue and groove, use a chisel to remove the tongue and use an appropriate adhesive to hold the plank in place.
5.) Remove spacers and add trims
After all the laminates have been properly laid, remove the spacers and fix the skirting to cover the expansion gaps.
To allow for expansion and contraction do not fill the expansion gaps with any material unless instructed to do so by the product manufacturer.
In order to protect your new floor from scratches, fit the bottom of your furniture with felt pads.
You might also need to remove doors and shave the down for ease in opening and closing when the flooring is installed.


Stylish Mabati House Designs for Starter Homes
A quick overview of the most popular mabati house designs.


10 House Designs That Never Go Out of Style in Kenya
A quick overview of the most popular home designs in Kenya.


3 Bedroom House Plans for Dream Family Homes
These houses are ideal for families seeking a more spacious home.